Support
Here you will find documentation, application examples and software for the devices which we support.

GAT-1 / GAT-2
The GAT device performs many processes such as managing
the GSM communication, sampling inputs, managing outputs etc.
The user can activate and configure the operating details of these
processes via the available "Functional Parameters Setup" commands.
The GAT device also supports a Structured Programming Language,
and is able to execute a "GAT Automation Program".
Below you can find application examples for the GAT devices.
Each example results to a text, the "Application Program",
which contains the description of the application
and the commands that implement it.
These programs are tested and can serve as
templates for new applications.
We recommend that you take a look at these examples,
as they present many key features of the GAT devices.
 |
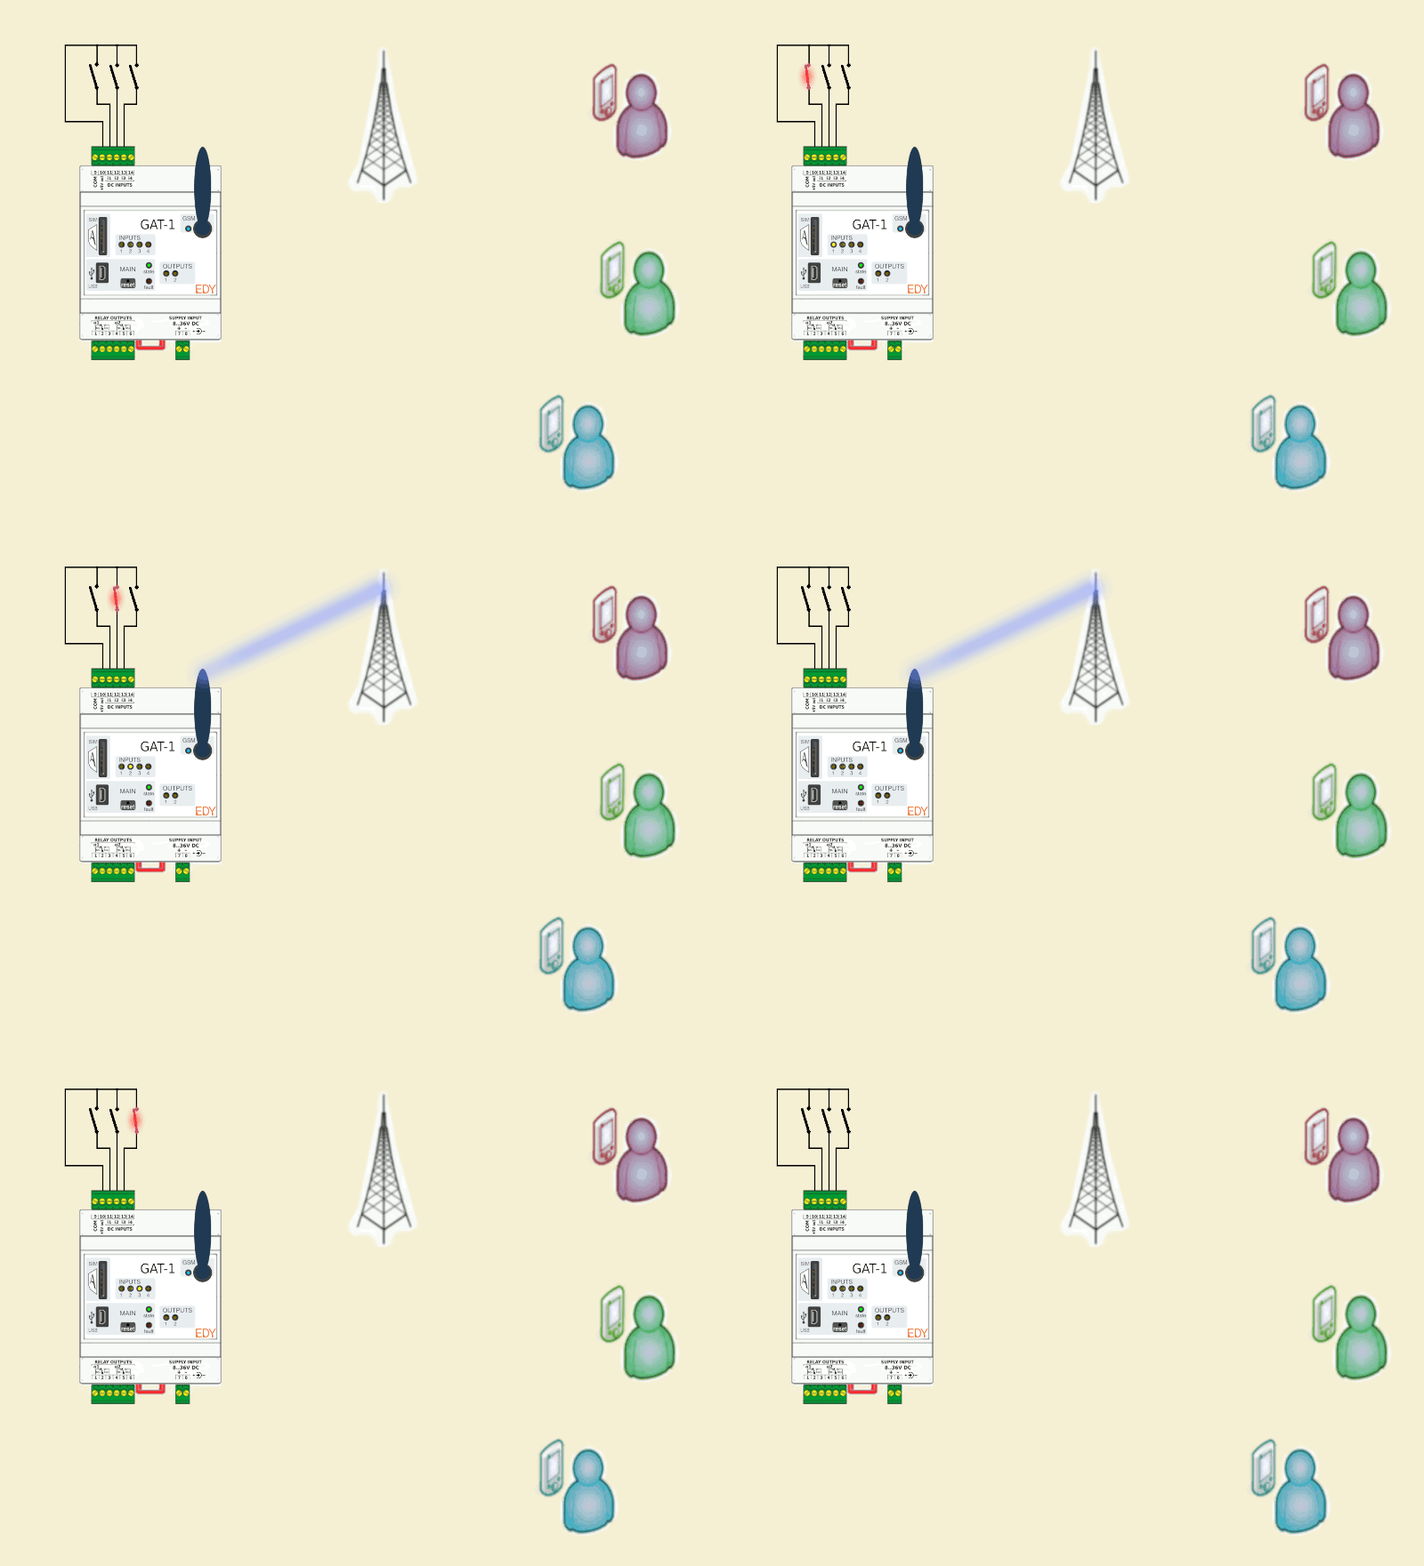
GAT Example #1 : Notification with SMS for state changes on Inputs |
 |
GAT Example #2 : Water Tank: Remote Controlling and Notification with SMS |
 |
GAT Example #3 : Water Tank: Automation Program, Remote Controlling and Notification with SMS |
These and other examples are included as source files
in the installation of the software "GAT Communicator".
This area is under construction. More examples will be added.
Remember to visit again...
The "GAT Communicator" is a Windows application which is used
for the easy programming and testing of the GAT-1 / GAT-2 devices.
The last version of "GAT Communicator" is 0.7.4 (2022-08-28) which
provides improvements, bug fixes, and updated documentation / examples
and the files for the GAT firmware version 1.3,
with improvements and bug fixes.
The installation or upgrade of the application is done with the execution
of the program “GATcommXXX_Install.exe” (XXX is the version number),
which you can download from this link:
The installation process has 3 steps.
To advance the process you press the button "Next",
to cancel the installation you press the button "Cancel".

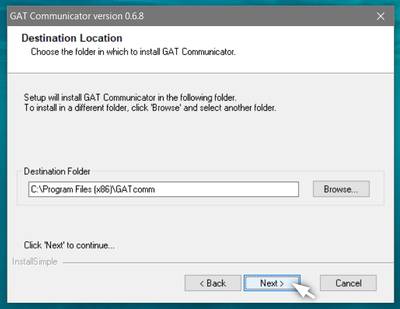
In the second step the software installation path is displayed,
as suggested by the computer operating system.
The user has the option to choose another path.
When updating an existing software, this path must be
the same with the one of the existing installation.

In the final step, you press the "Install" button to start the files copying.
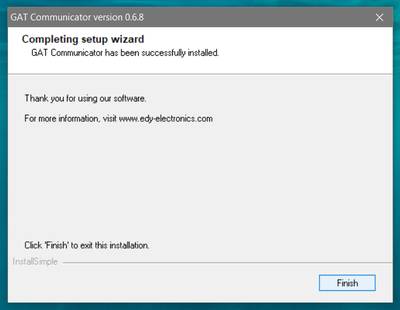
After a few seconds and if all goes well,
the program will confirm the successful installation.
Click the button "Finish".

After the installation, a new folder has been created
in the Windows Applications menu.
It is named "GAT Communicator" and contains shortcuts for:
- the documentation files
- the application "GATcomm"
- the USB driver installer
- and the software uninstaller.

First run of the "GATcomm" application, setup of the "Work folder"
The application "GATcomm" needs a "work folder".
This folder will contain subfolders with the GAT device information files
and the application examples, and it is also the default path to store
the user-generated GAT application programs.
It is called "GATcomm_data", and can be on the path suggested by the system
or any other path chosen by the user.

On its first run after the installation, the application displays
a message that no "Work Folder" was found and prompts the user
to solve this issue via the dialog window "Settings".

A similar situation occurs after the update of the "GATcomm" application to a new version.

In both above cases, the dialog window "Settings" opens automatically.
The user must verify that the work folder path is set correctly or adjust it to his likings.
Then, with the "Copy support folders" selected, he must click the button "Apply".

Almost there...
After the above steps, the application "GATcomm" and the neccesary folders are installed.
To start communicating with a GAT device, you need to install the USB driver on Windows.
This is explained in the next section.
In order for the "GATcomm" software to be able to communicate
with a GAT device through the USB port, the operating system needs
the appropriate USB driver.
To install this driver, you must open the "GAT communicator" program folder
in the Windows "Start" menu and execute the program "Install_GAT_USB_driver".

After pressing the button "Next", the USB device driver installation will start.

After some seconds and if all goes well, the program will confirm the successful installation.
Click the button "Finish".

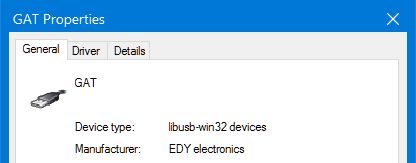
From now on, the GAT devices will be recognized by the system as "libusb-win32 devices".
You can verify this by opening the Windows "Device Manager":

Congratulations! You just installed the GAT device USB driver.

PLAYMAC
Here you can download the detailed description of the PLAYMAC audio reproduction system,
so you can start composing your own audio sets:
PLAYMAC Audio Reproduction System (greek)
Here you can download the sound files
which were used for the PLAYMAC demo:
For the following devices the production has stopped.
Support is provided for the already installed devices.

GAT8.4

GCB-1
Can't you find what you are looking for?
Do not hesitate to contact us, we will try to help you as soon as possible.


